Project Grave Digger: New Wheels
Grave Digger gets a custom rear axle and new wheels and tires.
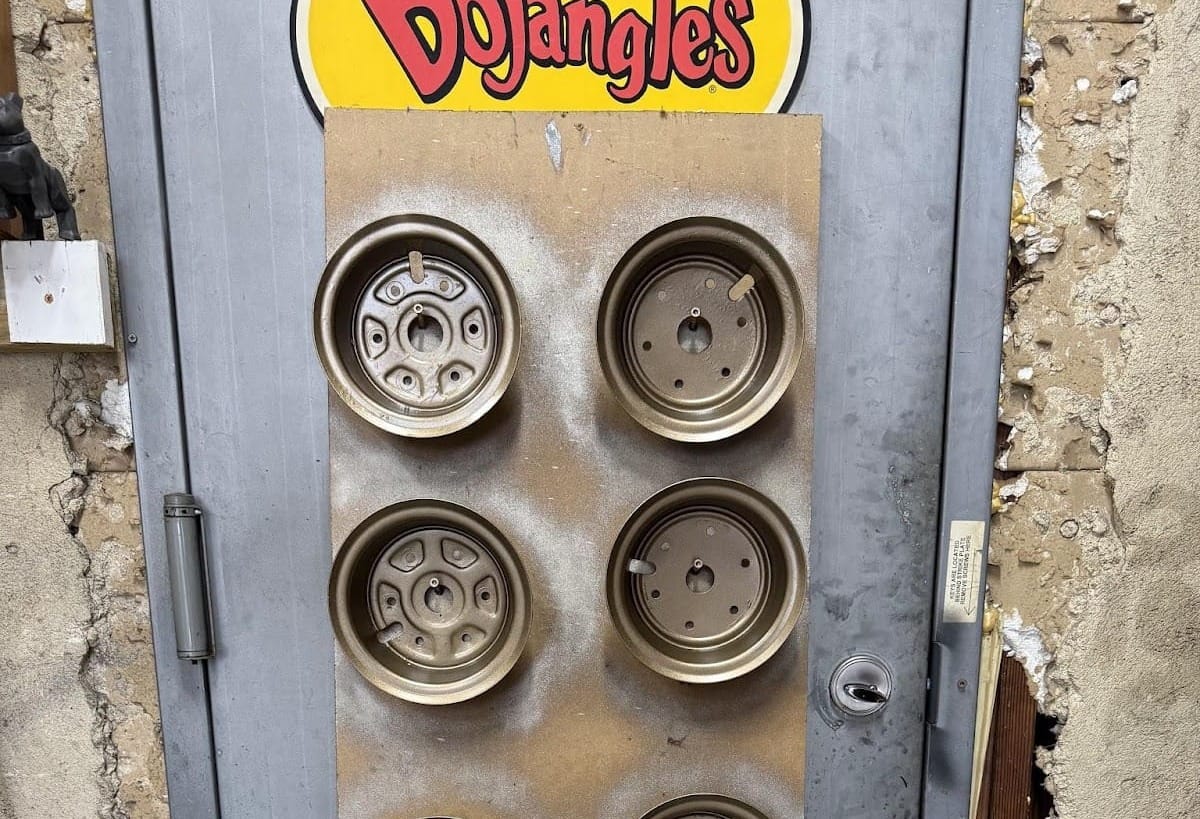
A hill I’m willing to die on is that bronze wheels are cool. Especially bronze wheels against a black or blue vehicle.

So, when it came time to repaint Grave Digger’s wheels there was no hesitation on the color.

Neon green would have been the obvious color if I was trying to make a modern-looking Grave Digger.
But instead, I wanted to go for a version of Grave Digger that I remembered from my childhood.
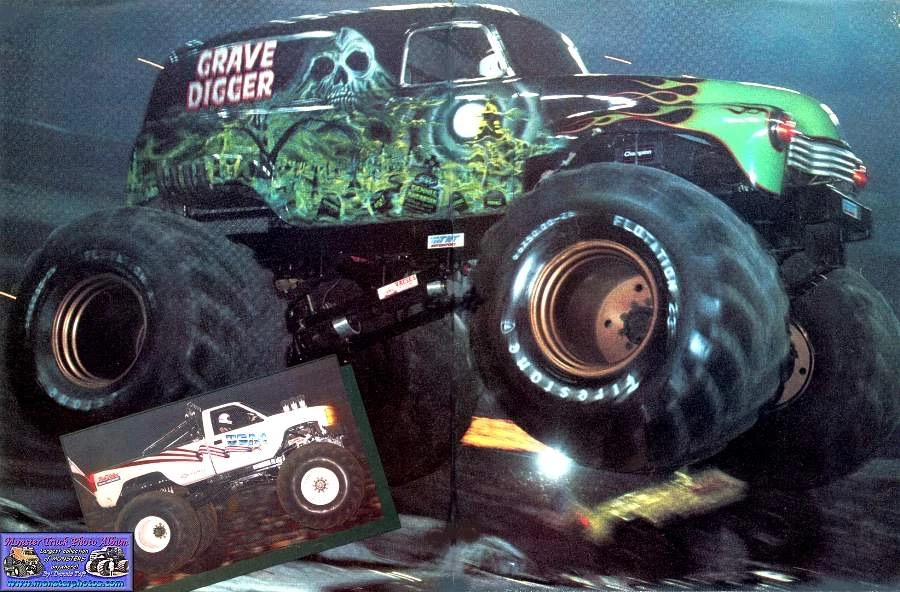
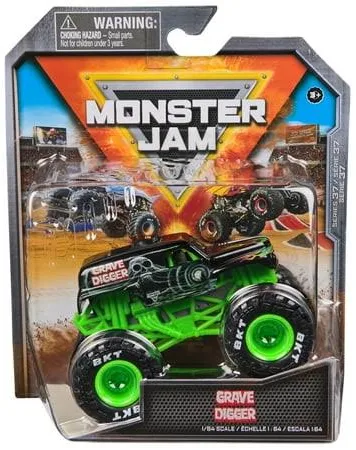
Grave Digger 2. Combined with the faded stickers, this mini Grave Digger even reminds me of the one that drove across the Currituck Sound with its now rusted rims.
I also took the opportunity to replace the stock Razor ATV tires while the wheels were apart. Not only were the tires worn to the point of being bald, their diameter was too small and the tread was not aggressive enough to match the look I was going for. I bought 2 sets of tires for a snow blower. They fit the stock rims but they are a larger diameter (15” compared to the stock 13” tires) and they have a more aggressive look.

With the new tires mounted to the refurbished rims it was time to start figuring out proper wheel offset. I wanted to try and match the original track width of the stock wheels because I believe this will help prevent the vehicle from tipping over. I started out measuring 4” from the wheel mount flange to the bearing flange face but I felt this was a bit too wide.

Eventually, I settled on 3.5”, which was a good compromise between safety and aesthetics.

At this spacing the center of the rear tires is right in line with the center of the stock front wheels. While I am losing some roll-over safety by using narrower wheels, I am also adding additional mass lower to the vehicle thanks to the new swing arm and motor, overall lowering the vehicle’s center of gravity. I’m hoping there is minimal difference in inertial moment around the rear axle so Grave Digger doesn't want to pop wheelies but with the heavier front tires it should be slightly greater if anything, which would be good.

With the position of the back wheels set, I could also put on the front wheels to figure out how much they would need to be offset to match the rear. I was surprised but pleased to find out that the Razor ATV wheels fit directly onto the front spindles of Grave Digger without modification.

Now that the back wheels are sorted out it was time to turn my attention to the front wheels. I expected I was going to have to fabricate an entirely new hubs to use the new wheels but fortune was on my side and Grave Digger’s stock spindles were the same 12mm diameter as the Razor ATV bearings. Combined with some 50mm aluminum spacers from McMaster Carr the new front wheels bolted right up!
The 50mm spacers pushed the front wheels out the perfect amount to match the width I decided to go with in the rear. I cut the rear axle to its final length and drilled 6mm through holes for the wheel mounts, drive sprocket and disc brake. The drive sprocket and disk brake were keyed to the Razor ATV axle shaft however, the keyway size was different between the stock Razor ATV parts and the new axle I bought so I took the easy route and just used through bolts to lock everything in place. The Razor ATV uses through bolts for the wheel mounts from the factory, so I expect this to be fine (foreshadowing, it wasn't), if these bolts ever fail I can always buy another axle and pursue the use of keys instead.

All four wheels mounted. I was finally able to get a true profile shot.

The final piece I wanted to put in place was a brake. The original wiring in Grave Digger combined with the motor resistance would naturally apply a brake when you took your foot off the accelerator pedal. Now that Grave Digger is heavier, and there is no electrical brake, I wanted to take advantage of the disc brake that comes on the Razor ATV axle.
There is minimal space in the footwell of a child’s power wheel (shocking, I know) and because the body of Grave Digger is all plastic, there aren’t any stiff or secure mounting points I could take advantage of. After some thought I realized I could reuse the Razor ATV’s handlebar brake and mount it to the floor next to the new accelerator pedal. This arrangement allows for the pulling mechanism I need and has the added benefit of including a brake switch built into the handle. When the brake is applied it will cut power to the motor and also limit the throttle from working if the brake is on. I made a new plate for the accelerator pedal out of the same ¼” HDPE plastic but pushed the accelerator pedal to the right to make as much space for the brake as possible. Similarly, I mounted the brake as far left as possible without it interfering with the steering shaft.

I was prepared to (and still may) modify the whole front steering setup to use a rack and pinion but for now, I’ll continue to use the stock steering arrangement. Grave Digger is almost ready to roll!